Interested in starting your own worm composting project? Check out the links listed in the previous entry or read below to see how I converted a plastic fermenting bucket (that I had been using as a fermenter for my beer brewing)
First you need a drill!

Then put some holes in the bottom of the bucket. Based on what I read, I put in about 18 holes to ensure air circulation and drainage as plastic containers are supposed to be more prone to retaining excessive moisture. 10-12 holes was the generally recommended amount. I also put some holes in the lid to facilitate air movement as well.
Some of the DIY articles I read mentioned screen on the bottom, others didn't. I decided to be safe I would put some screen on the bottom which, as you can see, I then secured with high-tech rocks from our backyard.

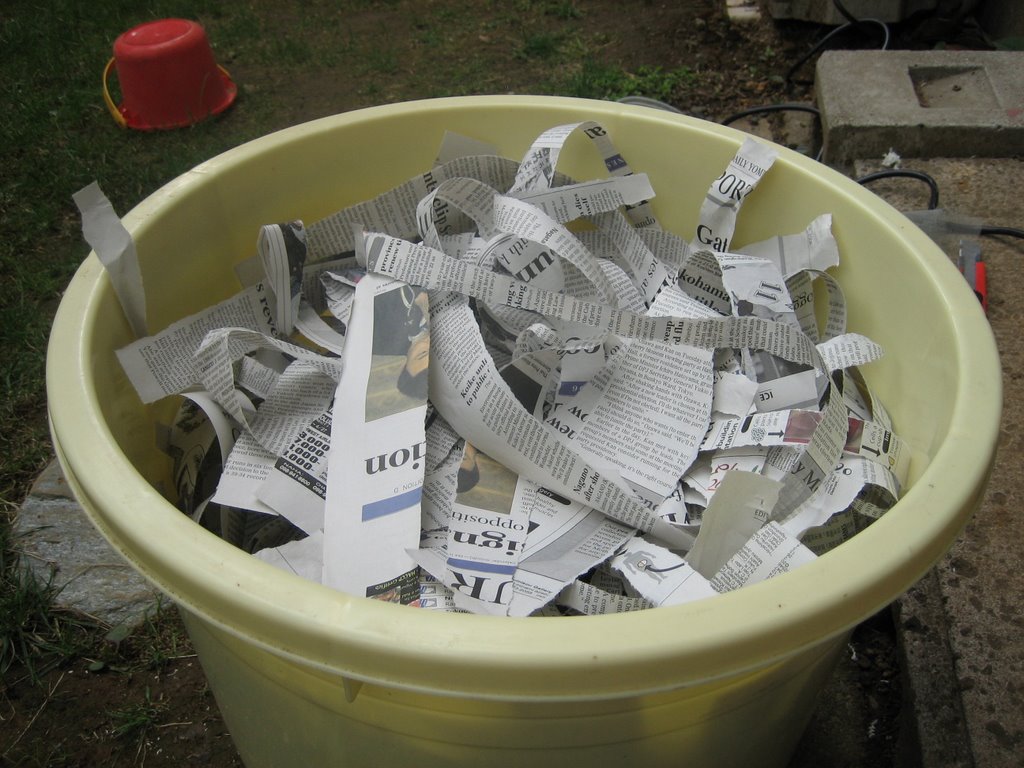
Next came a couple hand-shredded newspapers and a few handfuls of dirt.
 Then it was off to the local bait and tackle shopt to pick up some redworms. When I told the store owner what I was up to he actually wasn't that surprised. Seems some other enterprising students of sustainability had been in a couple of days before to liberate some wigglers as well.
 The picture to the left is the worms first supper since salvation. They are getting dried out orange and peel, coffee grounds and mashed up banana and peel as well as a little day old oatmeal. I know oats are a grain but this stuff was well on its way to simple sugar land, I believe.
This was all done yesterday afternoon. I checked back this morning and there seemed to be some progress. Also the worms had spread out and seemed to be healthy and active. Another check tomorrow morning should yield more information.
posted by zeli @ 8:43 PM
![]()

<< Home